


Who loves a good pattern hack?! My kids love thumbholes in their shirts. I have never tried to conquer a sleeve with a thumbhole in it, mainly because the ones I have came across look to intense with too much work attached!
The other day as I was working on a strike from Fabric Anthropology, I had an afterthought of adding thumbholes to the shirt I was making for my youngest. I had already constructed the sleeve and had it added to my shirt body, so I had to improvise a bit. This is what I came up with!

Start by using a long sleeve arm from a pattern that requires no sleeve band at the end. One that needs hemming only. You are going to measure 1.5 inches from the side seam and than make a cut 2 inches up from the bottom raw edge. Repeat this on the other sleeve but mirror it. Now cut a strip of contrasting fabric double the length of the slit you just cut and 1.5 inches in width.


Take your binding strip and line it up, right sides together, with one side of the bottom of your slit. I use my serger for this, but you could use a sewing machine. Just make sure you use a stitch that is suggested for Knit material. Start to work your fabric through your machine, keeping raw edges together .
Don’t be intimidated with the corner when you come up to it! Just gently move your L shape backwards, away from the blade to slowly create a straight line with the fabric of your sleeve. Continue sewing your binding to your sleeve until you reach the end.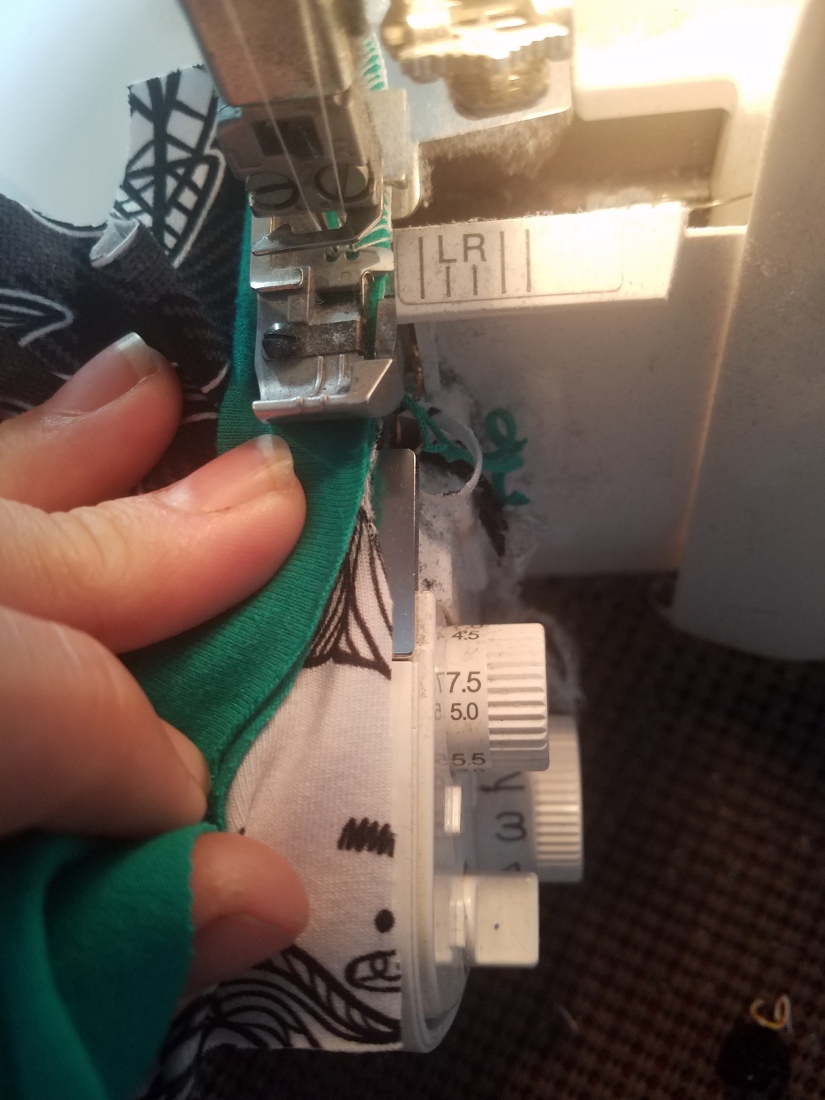

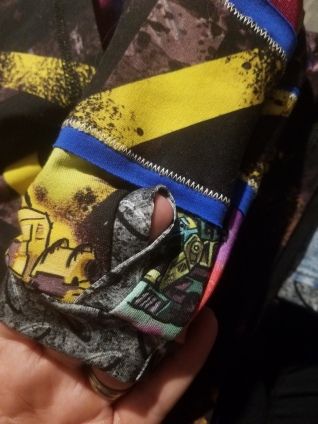
Your binding should now be sewn onto the slit you had made in your sleeve. Gently tuck your seam away from your thumb hole, moving the binding inward and the seam you created backward. We are now going to take our slit that we made and start to close it to create a thumb hole. Move your slit inward, lineup the slit edge to edge. You can baste this closed to help keep it stationary for when you add the sleeve binding.


Repeat this entire process with your second sleeve. Now you can go ahead and construct the rest of your shirt. Make there sure your thumbholes are towards the front of your shirt! Leave the raw wrist opening of the sleeve for last, for when we add our binding for the last step!
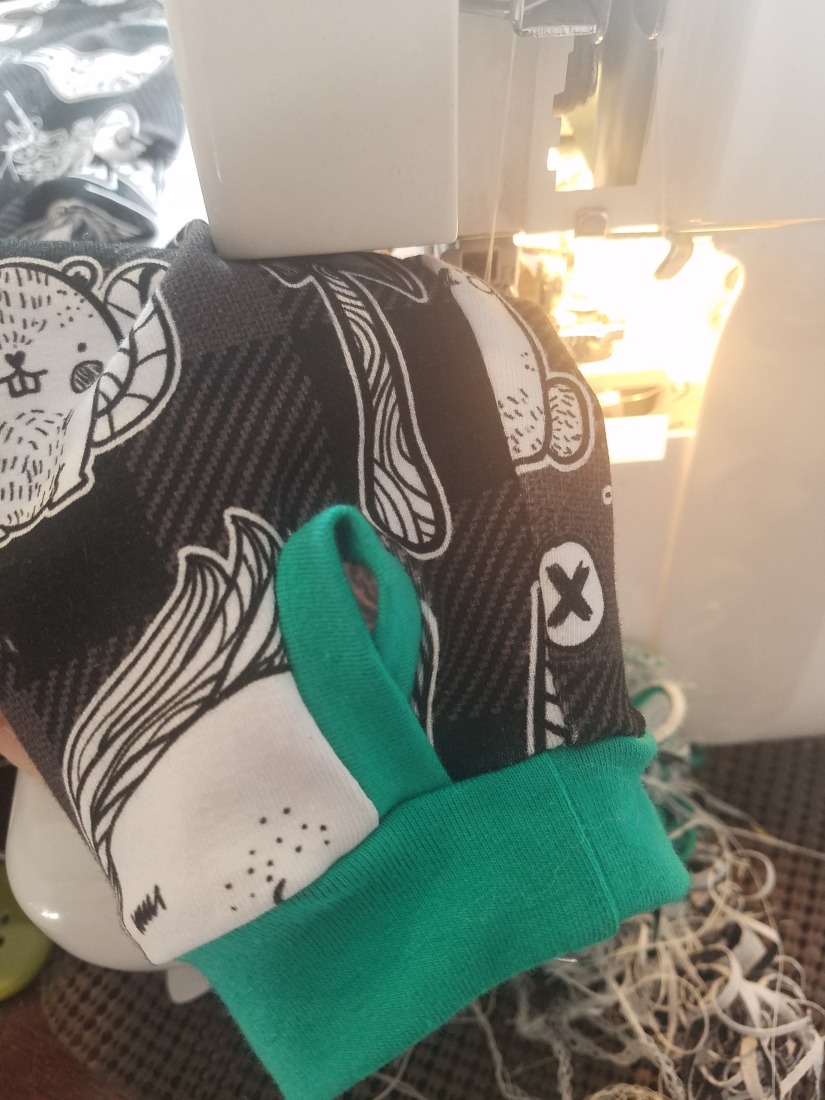
Now we are going to create the binding to finish the sleeve. I measured the opening of the bottom of my sleeve and subtracted about a half inch. So, my binding would be a 1/2 inch to 3/4 inches shorter than the opening of my sleeve. The length i cut was 3 inches. My cuffs turned out to be 3in by 3in. Now we are going to fold are cuffs in half to create our wrist band.


Now we are going to take our sleeve, which should be right side out at this point, and slide are cuff over the top of the sleeve. Match the seam of the wrist cuff to the seam of the sleeve. Slightly stretch the cuff to fit around the sleeve nicely. Next you will serge the two pieces together. I do this by working from the inside of the circle. I feel the fabric moves more easily this way.


And we’re done! How easy was that!? I hope you guys loved the pattern hack. Let me know what you think! 😄😊
Featured tag

Love this “handy” little hack! Been admiring your work for quite some time. You and your family are gorgeous and your photography and sewing skills are amazing!
LikeLiked by 1 person
Thank you so much!!! 😘
LikeLike
Love this! I can’t wait to try this out on an upcoming project!
LikeLiked by 1 person
Thank you so much Alexis! 😙
LikeLike
Love this. Thanks for sharing how to do it. Can’t wait to trying out myself!!!!
LikeLiked by 1 person
Thanks girl!!
LikeLike
Can’t wait to see what else you’ll come up with! Thanks for the inspiration.
LikeLike